The Short Answer
Don't drag the resize handle in Photoshop or Preview—that just stretches the pixels you already have and leaves you with a soft, blocky mess. To make an image bigger without losing quality, you need an AI image upscaler, which uses super-resolution to reconstruct realistic detail as it enlarges the picture instead of just stretching it.
The good news: you don't need design software or technical skill to do this. A tool like PixExtender's Image Upscaler does it in your browser in seconds. Below is exactly how, plus how to pick the right scale factor for your use case.
Why Ordinary Resizing Ruins Quality
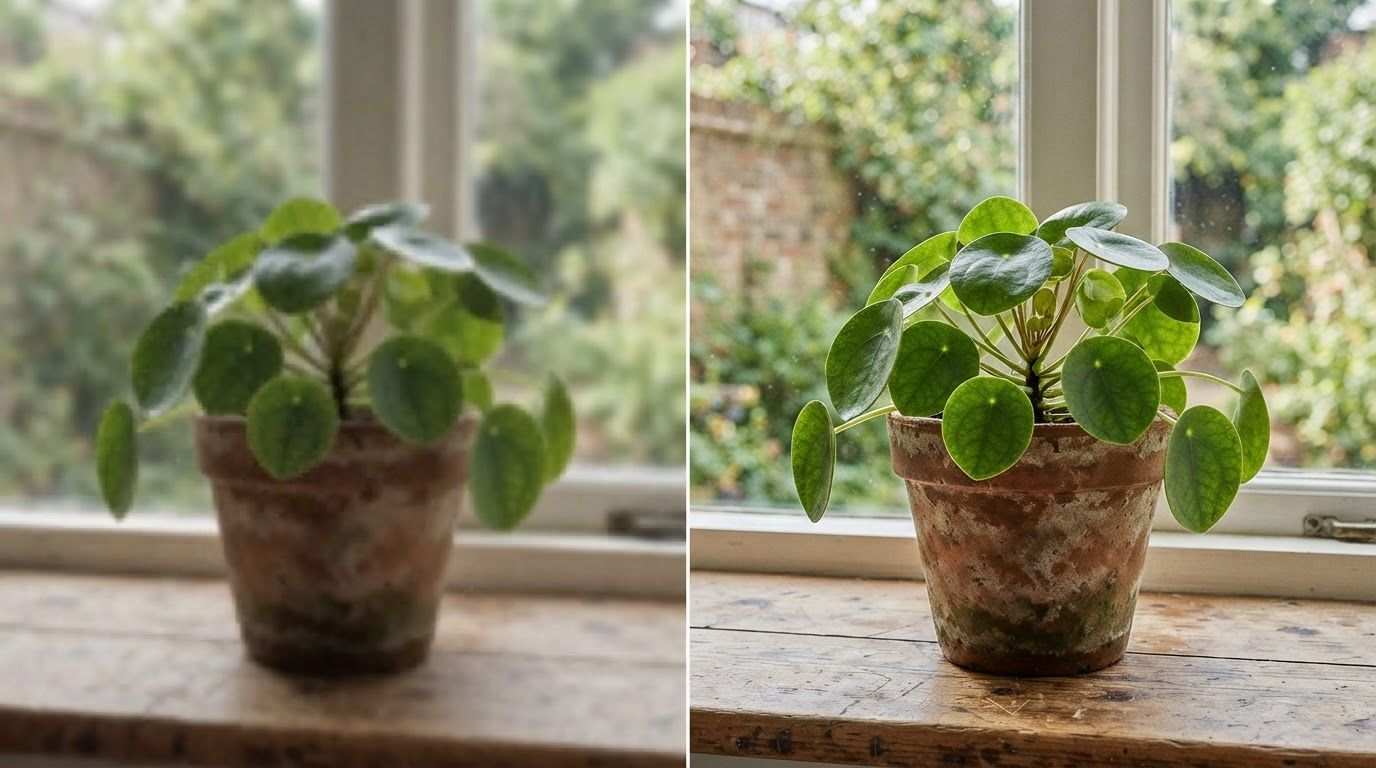
Every image is a fixed grid of pixels. When you resize it up in a photo viewer, an office document, or a basic editor, the software has to invent new pixels to fill the extra space—and most tools do this with simple interpolation, which just averages nearby pixels. The result:
- Blurring — edges lose their crispness and start to look "smudged"
- Blockiness — enlarging past roughly 110–120% starts to show visible squares, especially on JPEGs
- Loss of fine detail — text, texture, and small features turn to mush
This is why a photo that looks fine at its original size falls apart the moment you blow it up for a poster, a banner, or a 4K screen.
How AI Upscaling Keeps Quality Intact
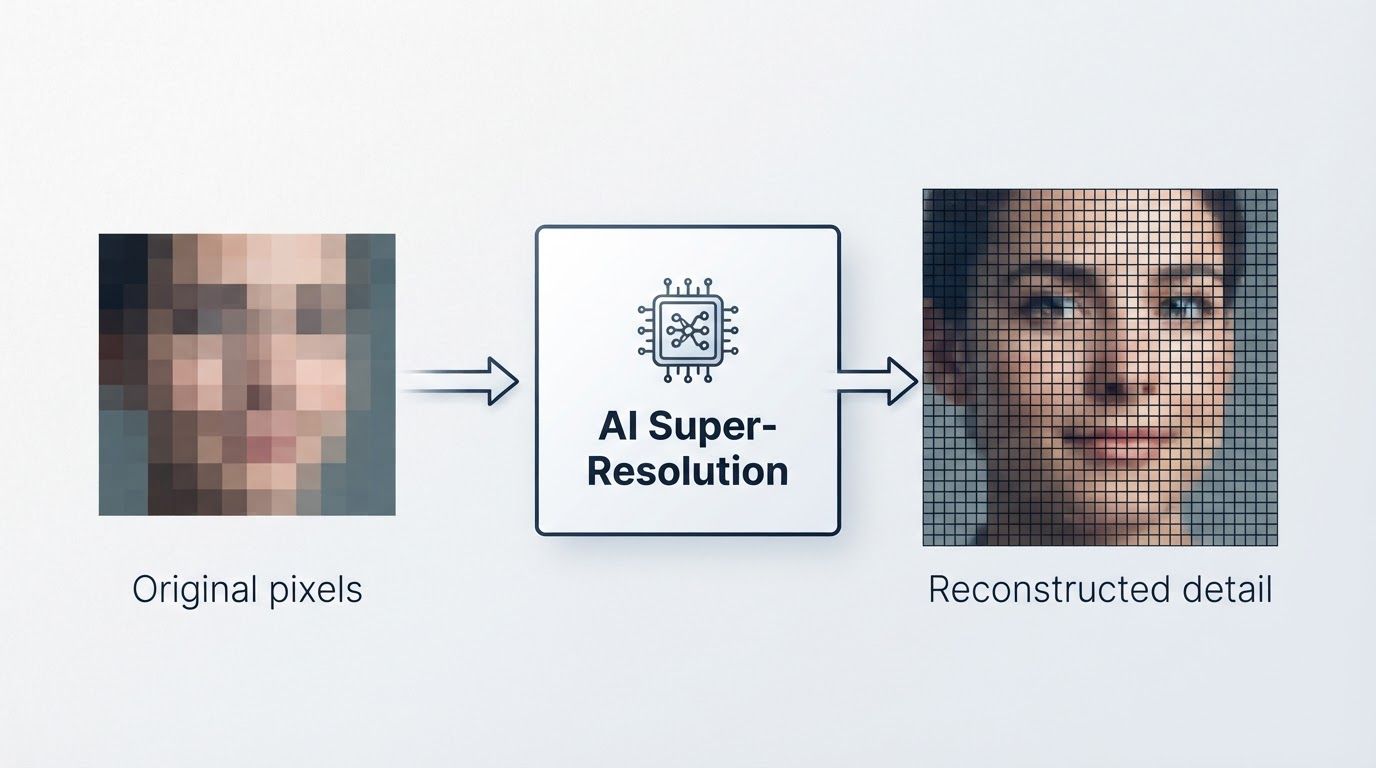
An AI upscaler solves the same problem with a completely different method: super-resolution. Instead of stretching existing pixels, it's trained on millions of image pairs to recognize what fine detail should look like—sharp edges, realistic textures, natural gradients—and reconstructs that detail as it multiplies the pixel count (2x, 4x, or even 8x).
Nothing about the composition changes. It's the same photo, just with real detail added back in rather than blur. That's the core difference between "resizing" and "upscaling," and it's what Image Upscaler vs Photo Enhancer covers if you also want to know how upscaling compares to general quality enhancement.
Step-by-Step: How to Make an Image Bigger Without Losing Quality
Here's the full process using PixExtender's Image Upscaler:
Step 1: Upload Your Image
Go to PixExtender and open the Image Upscaler. Drag your file in or click to upload. JPG, PNG, and WEBP are all supported.
Step 2: Choose Your Scale Factor
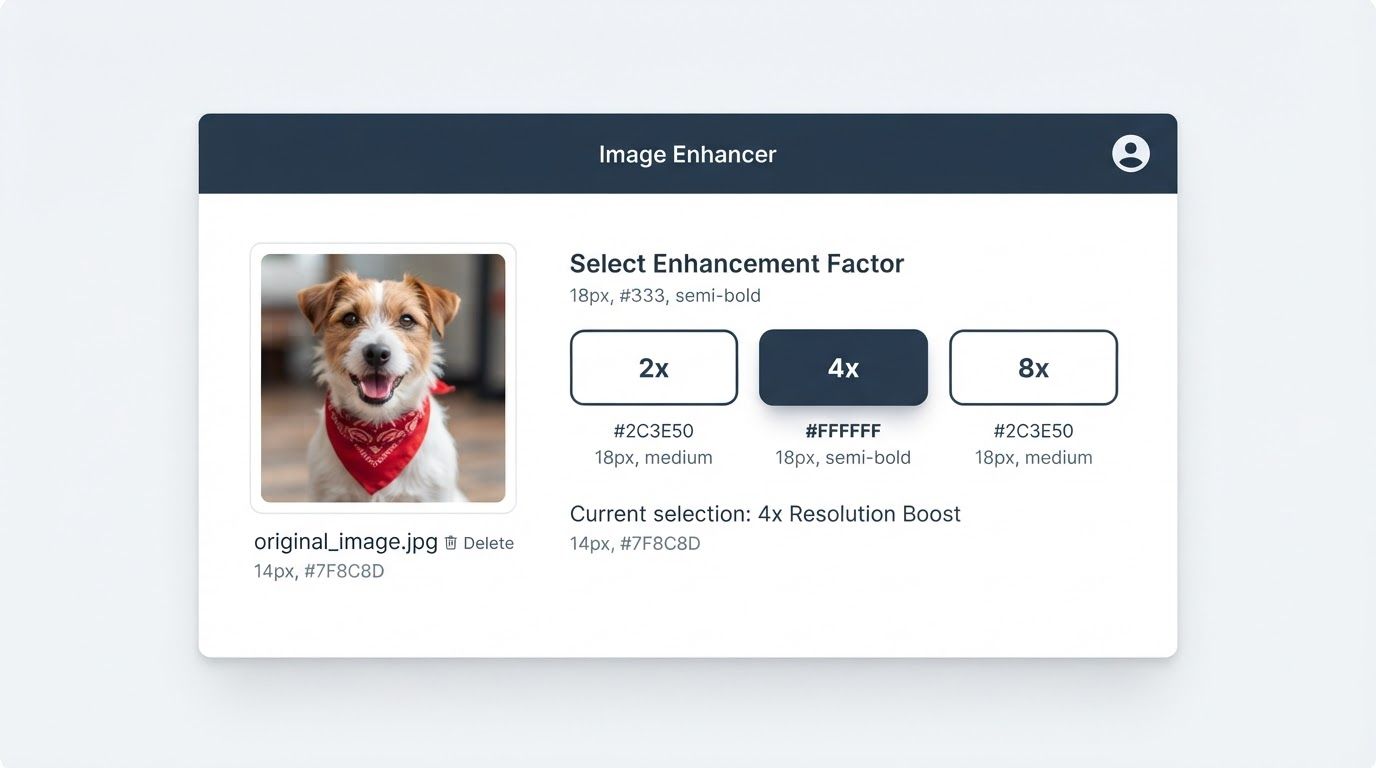
Pick how much bigger you need the image—2x, 4x, or 8x. Choose based on where the image is headed (see the table below), not just "as big as possible." A smaller factor targeted at your actual use case preserves quality better than maxing it out unnecessarily.
Step 3: Generate
Click "Upscale" and let the AI process the image. This typically takes just a few seconds.
Step 4: Download
Download the result as JPG, PNG, or WEBP—ready to use immediately.
Total time: well under a minute.
How Much Bigger Can You Go? Choosing the Right Scale Factor
| Your goal | Recommended factor | Why |
|---|---|---|
| Sharper image for the same screen size | 2x | Recovers detail without an oversized file |
| Standard photo print (4×6, 5×7, 8×10) | 2x–4x | Matches typical print resolution needs |
| Large-format print or canvas | 4x–8x | Print viewing distance forgives more, but you need the pixels |
| Filling a 4K display or hero banner | 4x | Matches 4K pixel dimensions from a modest source |
A helpful rule of thumb: figure out the pixel dimensions you actually need first (for print, that's usually 300 DPI × your print size in inches), then pick the smallest factor that gets you there.
When an Upscaler Isn't the Right Tool
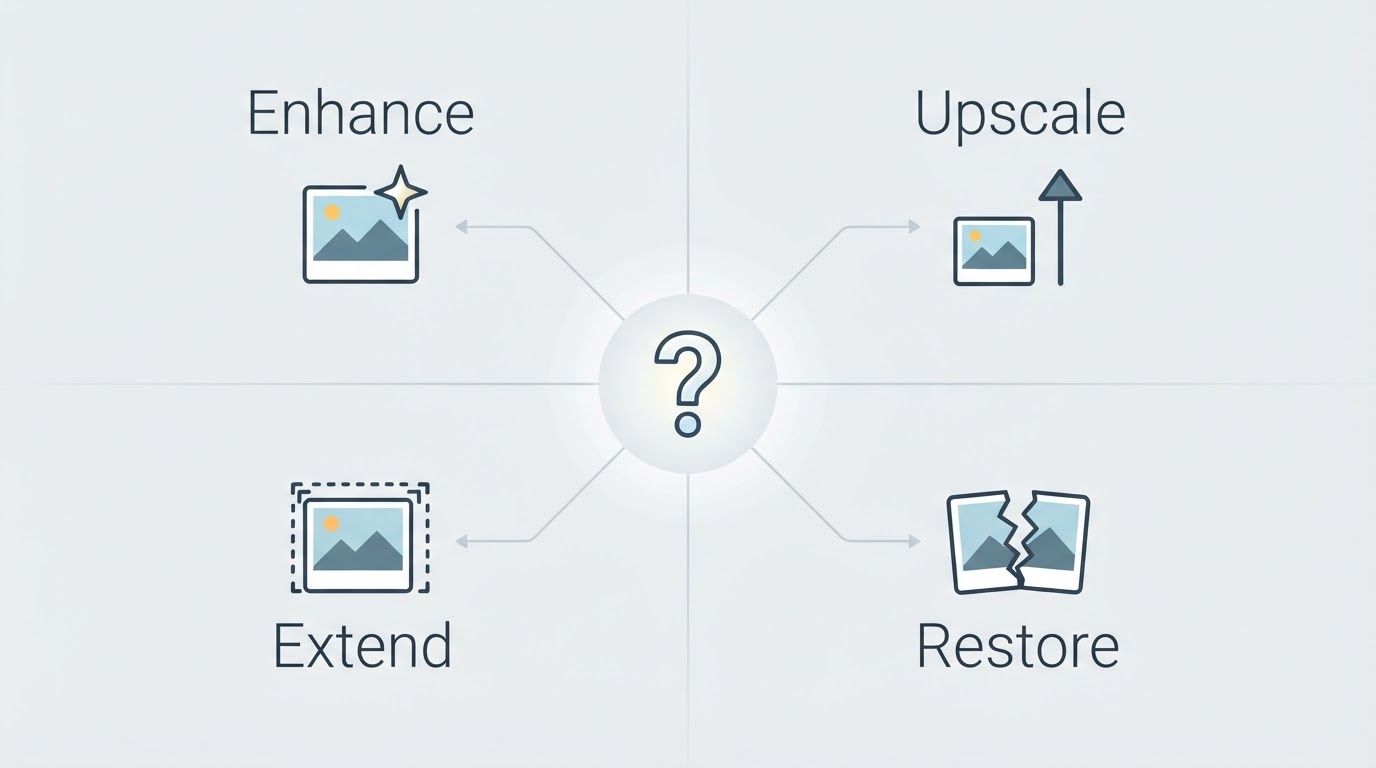
Making an image "bigger" can mean different things, and an upscaler only solves one of them—more pixels, same picture. If your real problem is different, here's where to go instead:
- Your photo is blurry, grainy, or dull, not just small → that's a job for a photo enhancer. See our guide: How to Make a Blurry Photo Clear.
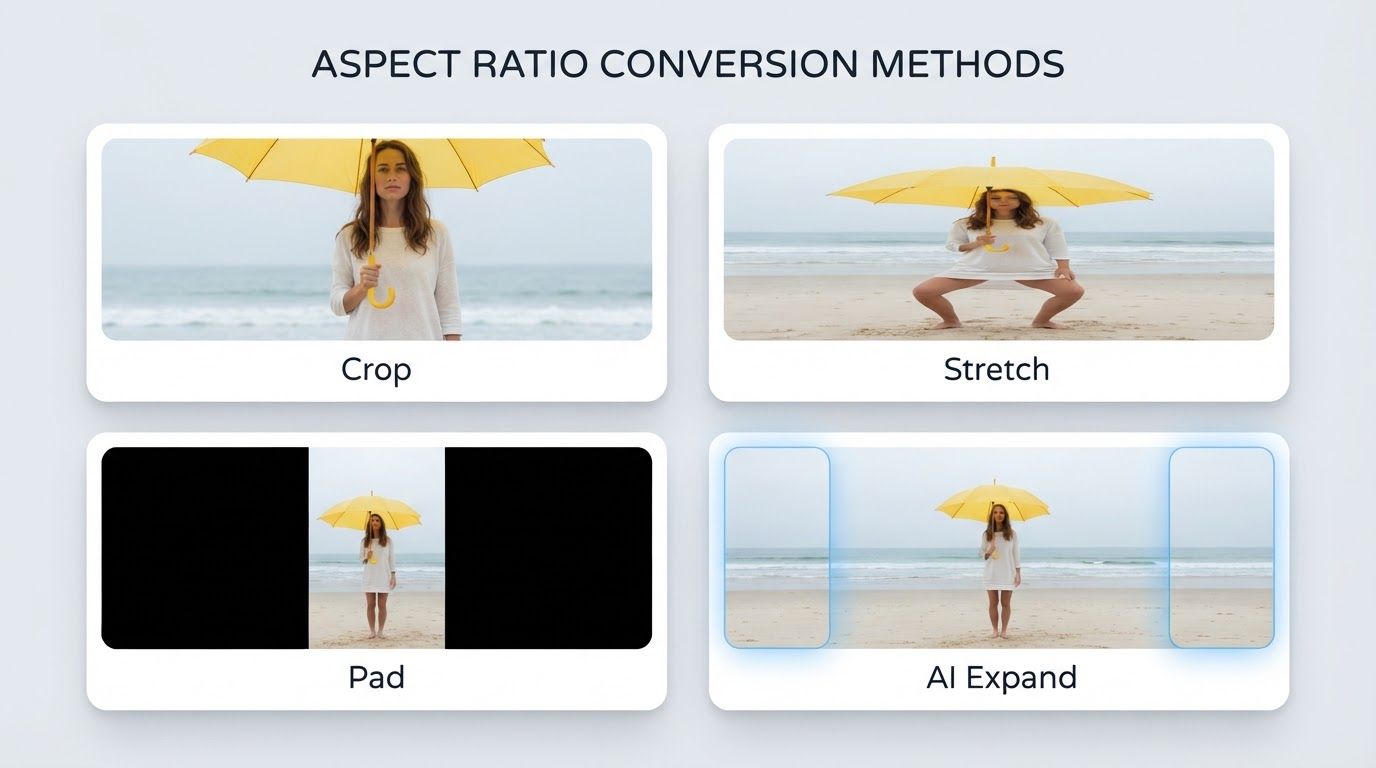
- You need a different shape—wider, taller, or a new aspect ratio, not just more pixels → that's an image extender, not an upscaler. Full comparison: Image Extender vs Image Upscaler.
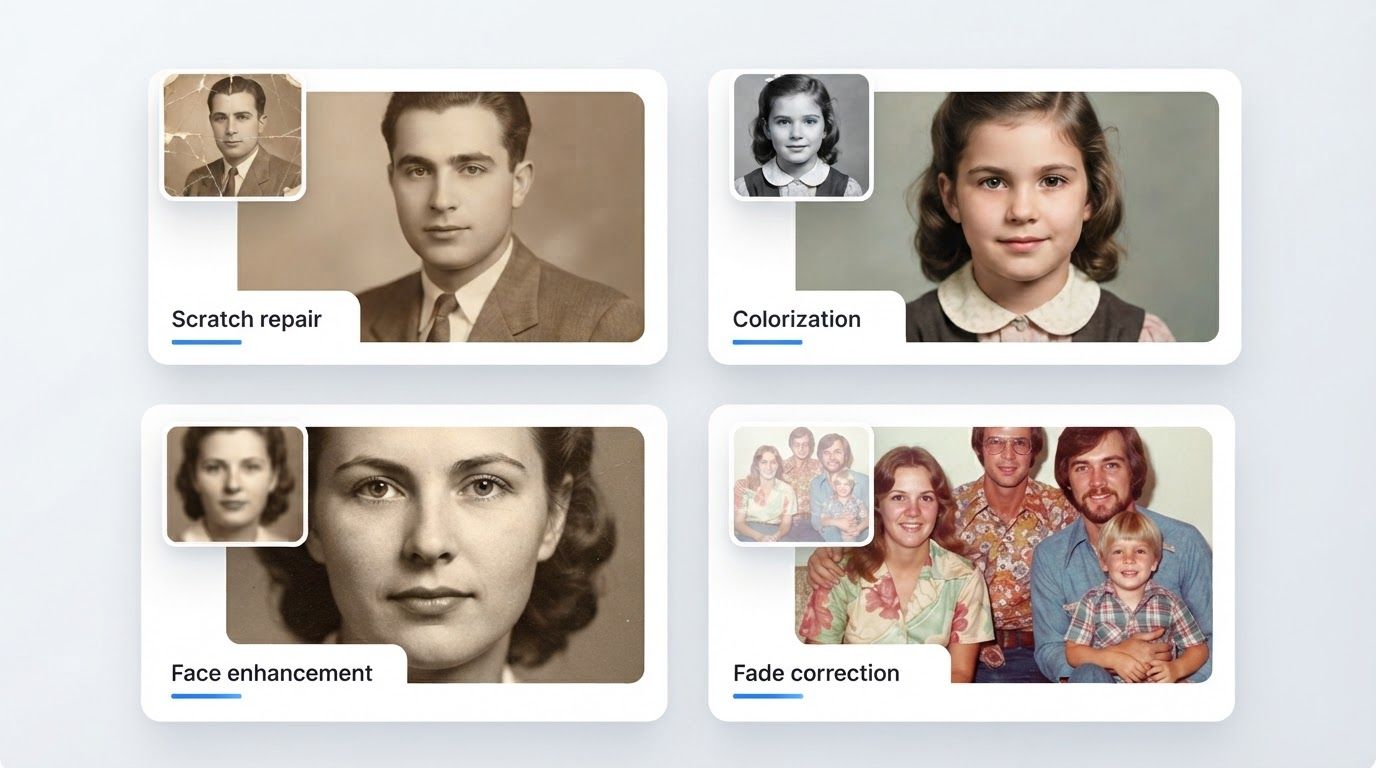
- The photo is old, scratched, faded, or torn → start with Photo Restoration instead. See: How to Restore Old Photos.
Not sure which of the four tools you actually need? The full breakdown is here: Upscale vs Enhance vs Extend vs Restore.
Pro Tips for the Best Results
- Start with the best source you have. Upscaling reconstructs detail intelligently, but it can't invent information that was never captured at all—an already-tiny, heavily compressed thumbnail has a lower ceiling than a decent original.
- Clean before you enlarge, if needed. If your source photo is noisy or blurry, enhancing it first and upscaling second gives a better result than upscaling a messy image and enlarging its flaws along with it. See the recommended order in Image Upscaler vs Photo Enhancer.
- Don't over-scale. Going straight to 8x when you only need 2x doesn't add extra quality—it just produces an unnecessarily large file.
- Match the factor to the destination, not to "as big as the tool allows."
Frequently Asked Questions
Does upscaling actually reduce image quality?
No—that's the whole point of AI upscaling versus a plain resize. A basic resize stretches existing pixels and loses sharpness. An AI upscaler reconstructs realistic detail as it enlarges, so quality is preserved or even appears improved, rather than degraded.
What's the best free way to make an image bigger without losing quality?
Use an AI upscaler rather than a manual resize tool. PixExtender's Image Upscaler offers free trial credits with no credit card required, so you can test it on your own photo before committing to a plan.
Can I upscale a JPEG without losing quality?
Yes. AI upscaling works on JPG, PNG, and WEBP files. It can even improve the perceived quality of a compressed JPEG by reconstructing detail lost to compression, though starting from a less-compressed source always gives the cleanest result.
Will upscaling also fix a blurry or noisy photo?
Partially—a good upscaler reconstructs some detail as it enlarges, which can make a soft image look a bit sharper. But it isn't built to remove heavy noise or fix bad lighting. For that, use a photo enhancer first; see How to Make a Blurry Photo Clear.
How many times can I upscale the same image?
You can technically run it more than once, but stacking upscales doesn't add real detail beyond what a single well-chosen factor (2x, 4x, or 8x) already provides. Pick the target size you actually need and upscale to it directly in one pass.
What resolution do I need to print a photo?
A common target is 300 DPI at your final print size. For an 8×10 inch print, that's roughly 2400×3000 pixels. If your original doesn't reach that, an upscaler can get you there without the print looking soft.
Try It on Your Own Photo
Skip the stretching and blurring—make your image bigger the way that actually preserves quality. Upload a photo and see the difference for yourself:
Start free with PixExtender's Image Upscaler → PixExtender.com
Still deciding which tool fits your photo? Read the full guide: Upscale vs Enhance vs Extend vs Restore.