The Short Answer
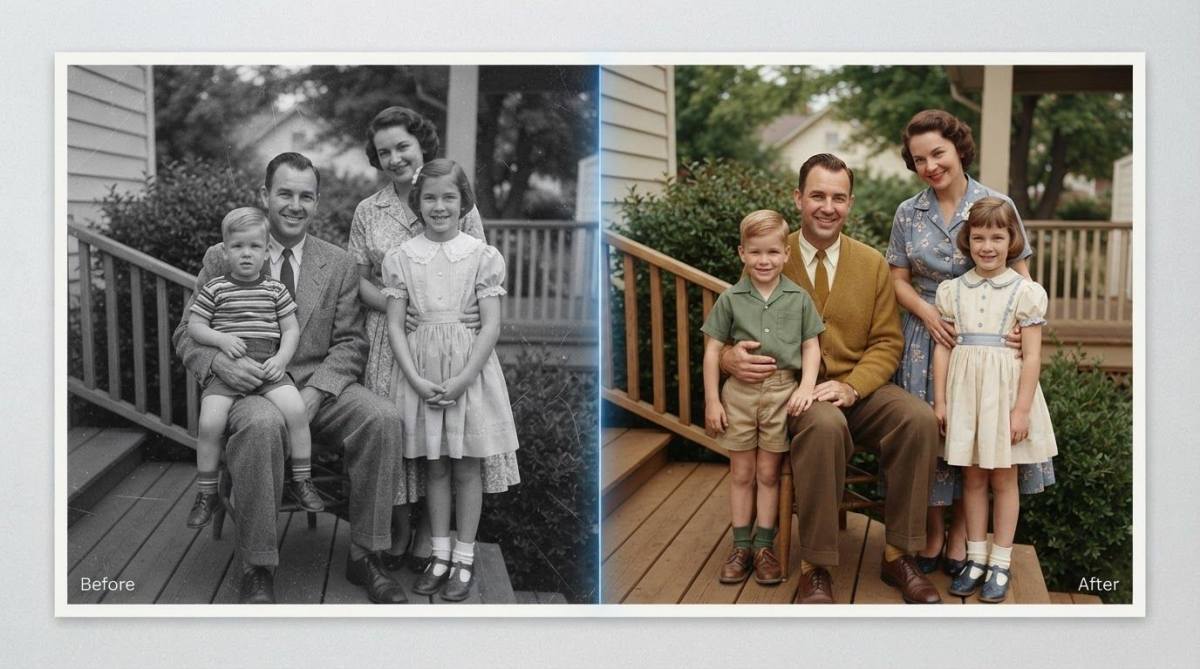
You can colorize a black and white photo in under a minute: upload it to an AI colorization tool, let the model predict realistic colors for skin, sky, clothing, and background, and download the result. No Photoshop, no layers, no painting by hand.
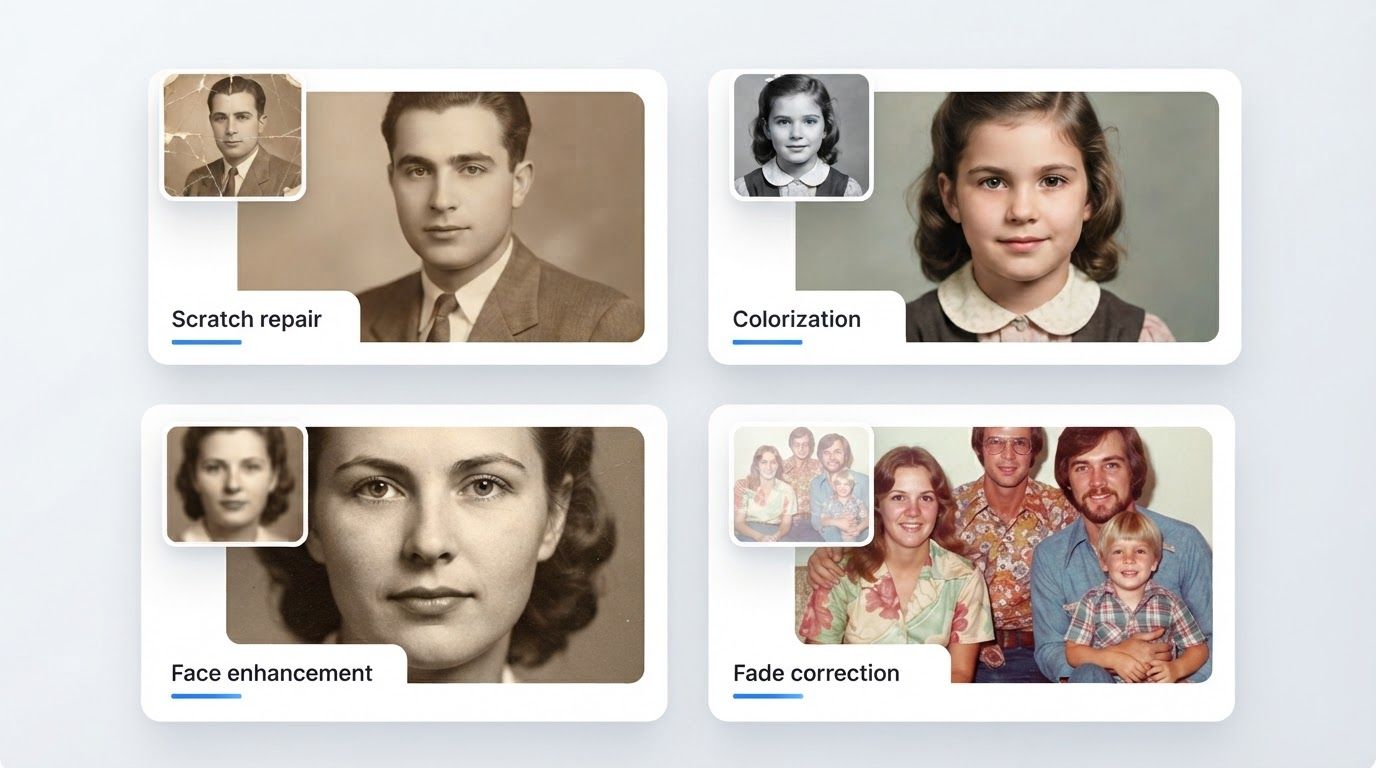
PixExtender's Photo Restoration colorizes black-and-white photos as part of a single restoration pass—it repairs scratches and fading in the same step, which matters more than you'd think (more on that below). Here's how it works, how to get the best results, and what AI colorization honestly can and can't do.
How AI Colorization Actually Works
AI colorization models are trained on millions of color photographs. During training, each photo is converted to grayscale, and the neural network learns to predict the original colors back from brightness, texture, and context alone. After enough examples, it recognizes what things are—skin, foliage, denim, wood, sky—and fills in the colors those things typically have.
The key word is plausible. A grayscale photo contains no actual color information: the AI can be confident that grass is green and sky is blue, but it cannot know whether a 1948 dress was red or navy. Researchers describe the goal as producing colors real enough to pass for authentic—in one well-known "colorization Turing test," AI-colorized photos fooled human judges roughly a third of the time.
So think of AI colorization as a skilled, instant educated guess—usually natural-looking and a dramatic improvement over gray, but an interpretation rather than a recovery of historical fact.
AI vs Colorizing by Hand
Before AI, colorization meant manual work in Photoshop: creating a separate color layer for every region—skin, hair, each piece of clothing, the background—painting it in, masking the edges, and fine-tuning hue and saturation. Finished projects often run to dozens of layers. Professional colorizers spend anywhere from hours to weeks on a single image, much of it researching archives so that uniforms, cars, and fabrics get historically accurate colors.
| AI colorization | Manual colorization | |
|---|---|---|
| Time | Seconds | Hours to weeks |
| Skill needed | None | Advanced photo editing |
| Color accuracy | Plausible, typical colors | Can be historically researched |
| Cost | Free to try | Software subscription + your time (or a professional's fee) |
| Best for | Family photos, quick revivals | Museum/publication work |
For the family photos most of us are colorizing, AI is the obvious starting point. If a specific color matters—grandpa's regiment insignia, a wedding dress—you can still adjust that one region by hand afterward, with 99% of the work already done.
Step-by-Step: Colorize a Black and White Photo with PixExtender
Step 1: Scan or Photograph the Original
Digitize the print at 300 DPI or higher (400–600 DPI if you plan to enlarge it later). Photographing with a phone works too: keep the photo flat, use even indirect light, and avoid glare. The more detail the AI can see, the better it distinguishes objects—and the more precise the colors.
Step 2: Upload to Photo Restoration
Go to PixExtender's Photo Restoration and upload your image (JPG, PNG, or WEBP).
Step 3: Restore and Colorize in One Pass
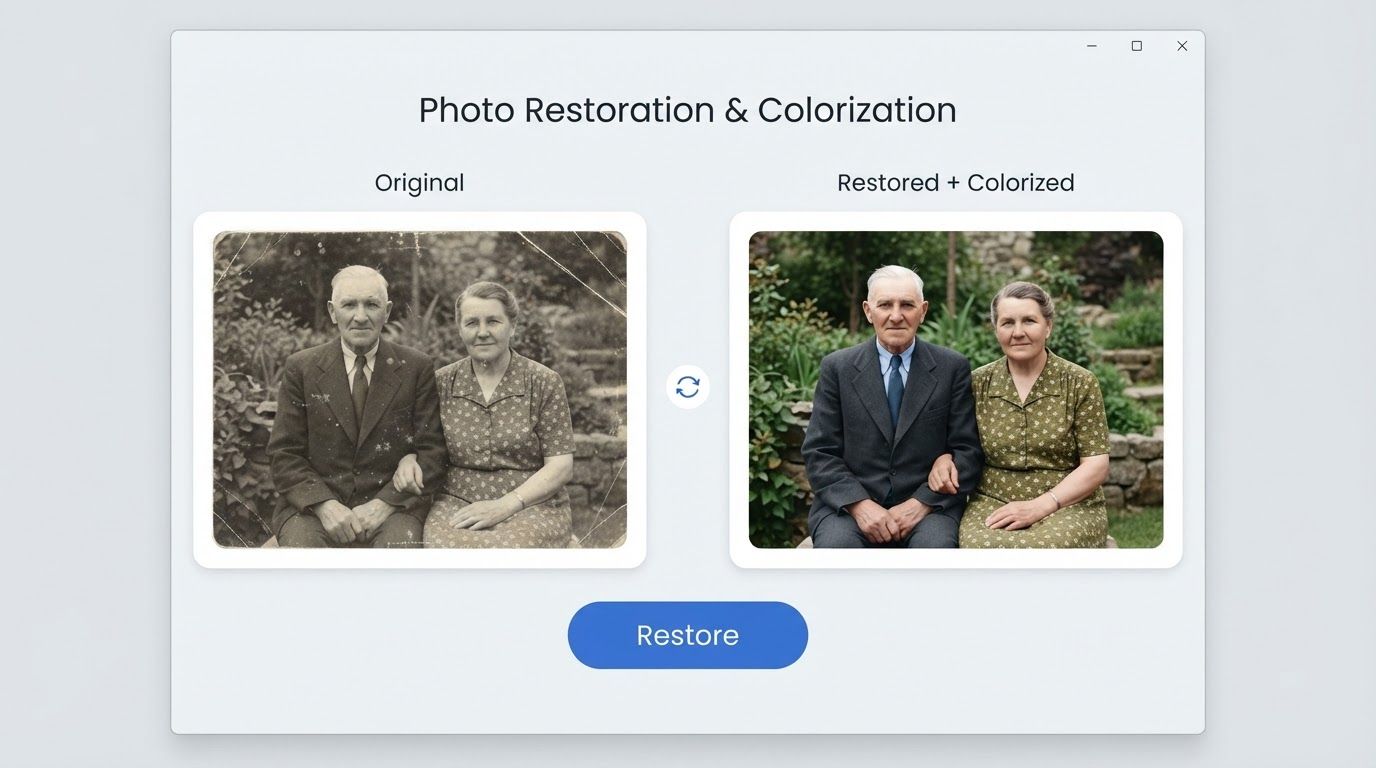
Click Restore. The AI repairs scratches, tears, and fading and colorizes the photo in the same operation. This order is deliberate: dust, cracks, and stains confuse a colorization model—it may read a scratch as an object and color around it—so damage repair and colorization belong together.
Step 4: Review and Download
Compare against the original—pay attention to skin tones and any objects whose color you actually know—then download the colorized photo.
Total time: under a minute per photo.
Tips for More Natural Colors
- Start from the best scan you have. Low-resolution, blurry sources give the AI less to recognize, which leads to flat or misplaced color.
- Fix damage before (or with) colorization, never after. Colorizing a scratched photo bakes odd colors into the damage. PixExtender handles both in one pass, so this is automatic.
- Lift faded contrast slightly first if the photo is badly washed out—clearer edges help the model separate objects.
- Double-check skin tones. Colorization models inherit biases from their training data and have been documented rendering some skin tones inaccurately. If a face looks off, it's worth a manual color tweak.
- Expect muted rather than vivid results. AI colorizers tend to play it safe with saturation; slightly boosting saturation afterward often makes the result pop.
What AI Colorization Can't Do (Honest Limits)
- It can't recover true colors. The original color information simply isn't in a grayscale image. Specific objects—a car, a dress, a storefront sign—may get a perfectly plausible but wrong color.
- Unusual objects get guessed. Anything rare in the training data (uniforms, flags, period-specific items) is where mistakes concentrate.
- It's an interpretation of history, not a restoration of it. Historians actively debate colorization for exactly this reason. For personal use that's no problem—just keep the original file, and if you share colorized historical photos publicly, label them as AI-colorized.
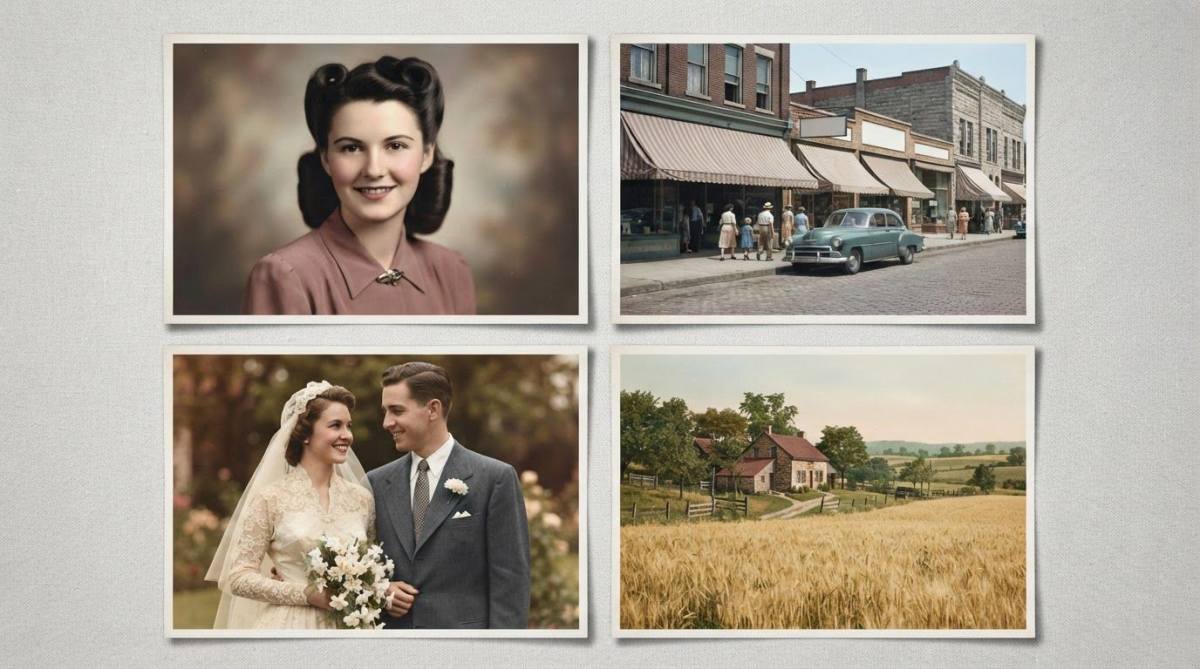
None of this diminishes the emotional impact: seeing a grandparent's childhood photo in color for the first time is remarkable. It just means the colors are a thoughtful reconstruction, not a photograph of the actual colors.
Frequently Asked Questions
Is AI photo colorization free?
PixExtender's Photo Restoration includes free trial credits with no credit card required—enough to colorize a photo and judge the result yourself. Other tools in this space typically watermark free output or cap it at low resolution.
Are the colors accurate?
They're plausible, not verified. The AI applies colors that similar objects typically have, and for skin, sky, and nature it's usually convincing. For specific items whose color you know (a team jersey, a family car), verify and adjust—the AI has no way to know those from a grayscale image.
Can I colorize a damaged black and white photo?
Yes—that's the ideal case for a combined tool. PixExtender repairs scratches, tears, and fading and colorizes in the same pass, so the damage doesn't contaminate the colors. For heavily damaged photos, see the full guide: How to Restore Old Photos.
Should I colorize before or after restoring?
Restore first, or use a tool that does both together. Colorizing on top of scratches and stains produces discolored patches that are hard to fix later. This ordering logic applies across all photo AI work—see Upscale vs Enhance vs Extend vs Restore.
Can I colorize a phone photo of a printed picture?
Yes. A flat, glare-free phone photo of a print works fine as input. Just avoid shadows across the surface and capture the entire photo, edges included.
What if I want the colorized photo bigger or sharper?
Colorize and restore first, then run the result through the Photo Enhancer for clarity or the Image Upscaler for a larger print—in that order, so each step builds on a clean foundation.
See Your Old Photos in Color
That shoebox of black-and-white family photos is one upload away from color. Try it on a favorite:
Start free with PixExtender's Photo Restoration → PixExtender.com
Want the bigger picture of what each AI photo tool does? Read Upscale vs Enhance vs Extend vs Restore.